Plumbing the Sump to the In-line Pump
This is my method using a tote for a sump & how to plumb it to any in-line pump.
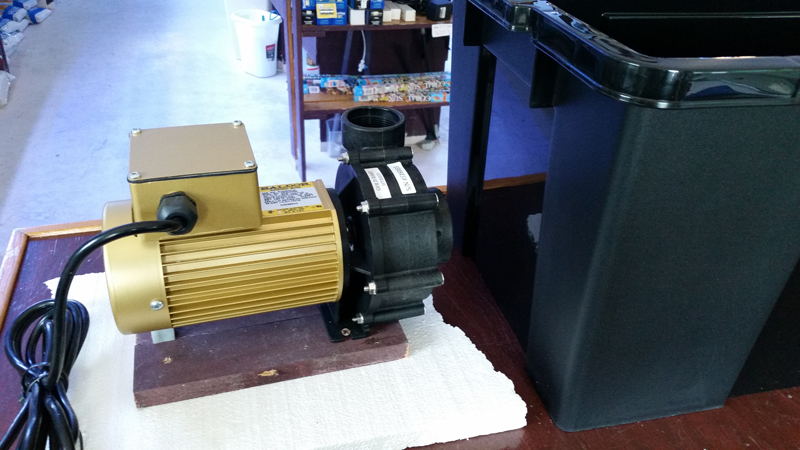
Place your sump tote on a flat surface whether floor or table. Set your pump next to it where you want to connect them. I place either 2x4 wood topped with a thin piece of rubber (like a piece of tire inner tube) or styrofoam sheets under the pump so that it lifts the pump about 2 inches up. We want the pump elevated so that the 90 degree elbow intake we'll install inside the tote can clear the tote bottom & still intake water. Using rubber or styrofoam also absorbs any pump vibration & reduces noise.
With the pump elevated, butt the pump up against the tote & mark the tote around the pump intake so you know where to drill your hole in the sump.
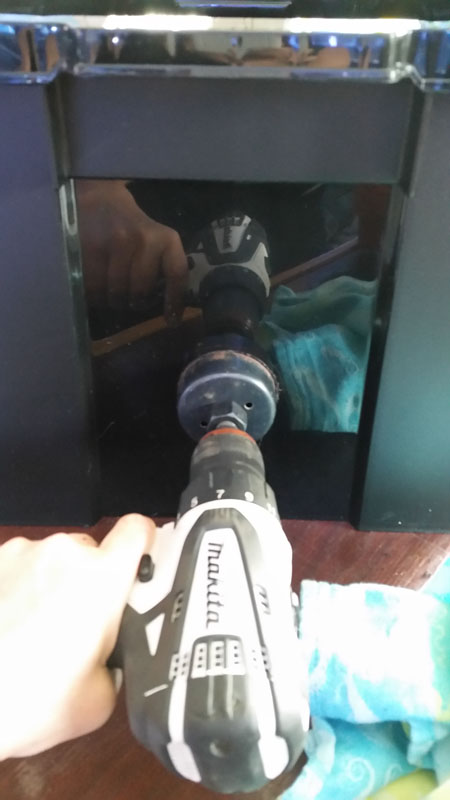
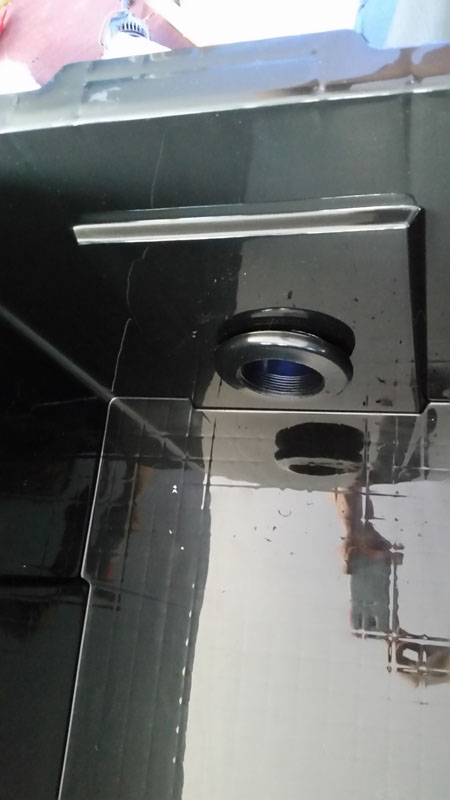
Using a hole saw the same diameter as needed for the bulkhead size you're installing, cut your hole, clean any burs with sandpaper to make the hole smooth then install your bulkhead with the head & rubber gasket inside the sump/wet side.
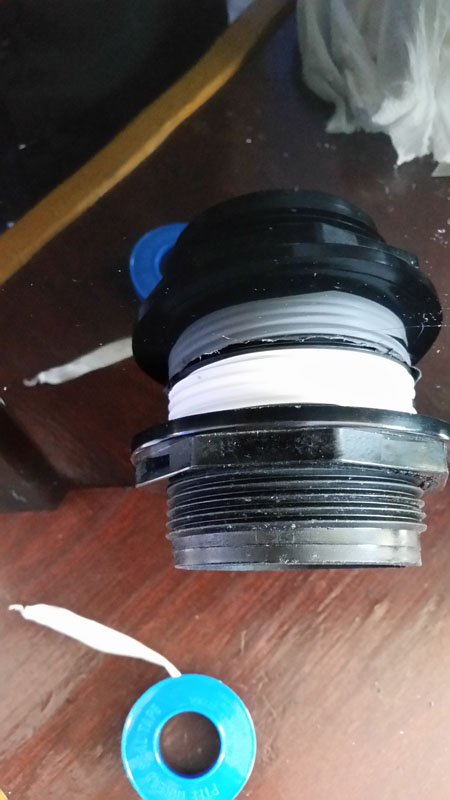
Use a wrap or 2 of Teflon tape on the outside threads at the head of the bulkhead so when you tighten the nut it's less likely to back off.
Now that your bulkhead is installed on the sump, let's finish the intake inside the sump.
Parts Needed:
Male Threaded Adapter
Approx 3 inch piece of straight PVC pipe
90 degree PVC elbow
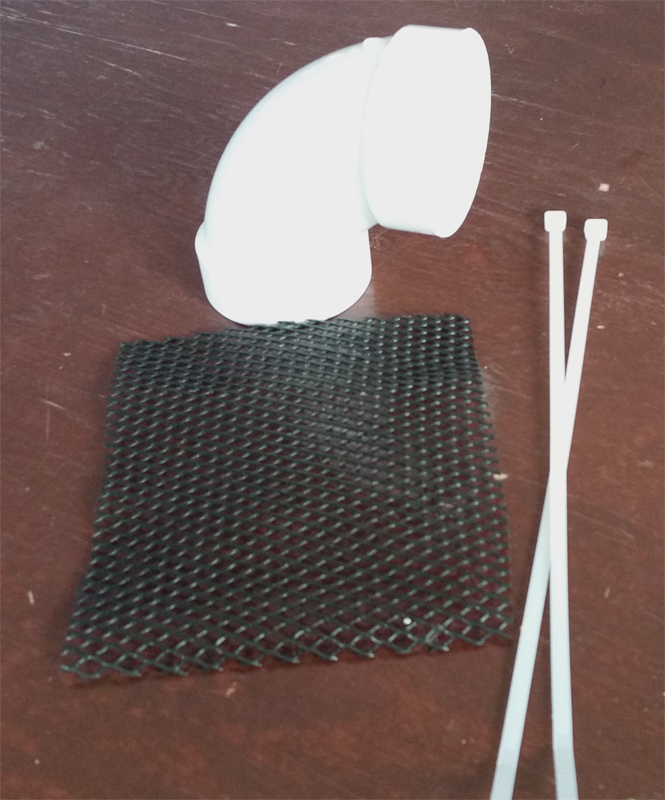
Plastic mesh netting & plastic Zip ties
Nothing about the sump inside intake needs gluing. In fact, you want to be able to turn the direction of your intake so keep everything just hand turn tight. More than likely your bulkhead has threads inside the head. Install the Male Threaded Adapter then the short piece of straight PVC pipe.
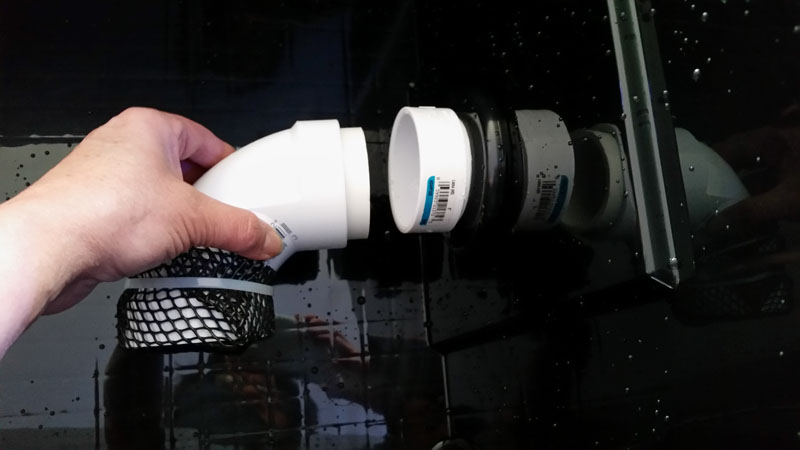
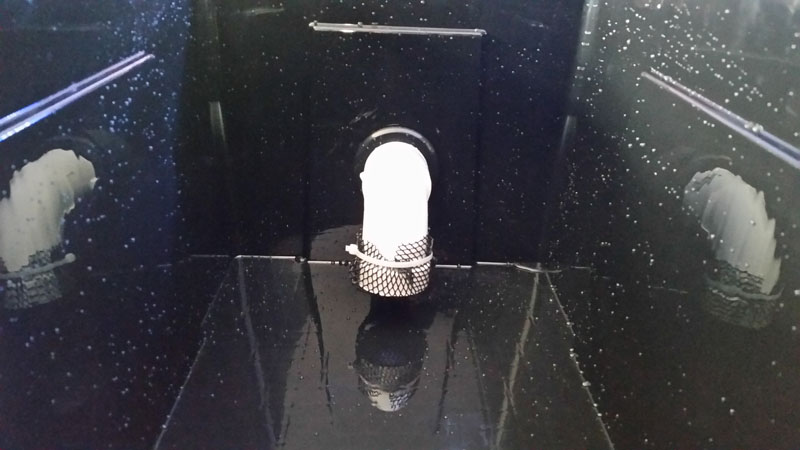
I like to protect my pumps by covering one/the intake end of the 90 degree elbow. I use a piece of plastic pond pump mesh bag cut large enough to be able to zip tie it onto my elbow. Be sure that whatever you use for a screen that it doesn't restrict the water intake & that it's totally saltwater safe.
Once the mesh is on you can now slide your elbow onto the straight PVC pipe sticking out of your bulkhead. OR, in my case pictured below, I inserted the PVC piece into the elbow first. Doesn't matter which way you do it. ;c) Again, no glue is used so you can freely turn the elbow if needed.
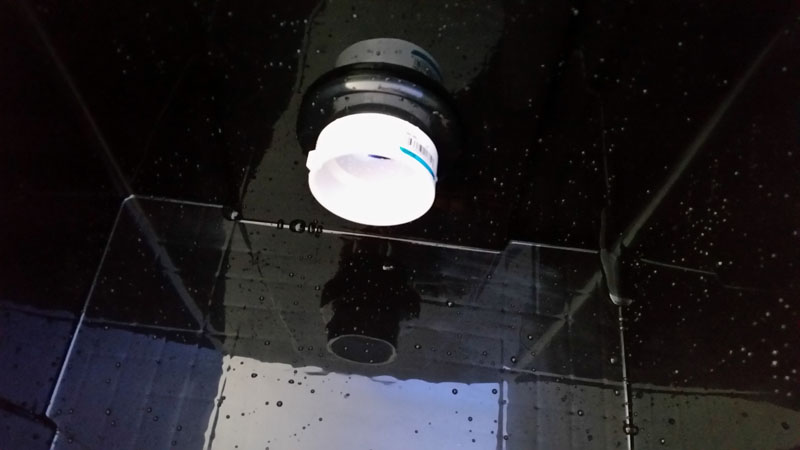
Here's mine installed & elbow positioned to draw water from the sump bottom.
Installing the sump's Ball Valve.
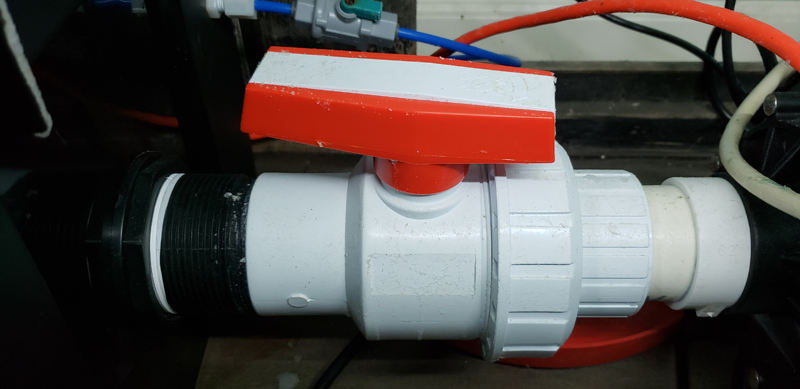
This valve is the same diameter as your pump's intake & is installed on the bulkhead tail outside of the sump. It is only ever used when we need to remove the pump off the sump. If we didn't have this valve we'd have to shut down the system & empty the sump of all water! Installing this ball valve will make pump maintenance a snap! On the dry side (outside) of your sump we will PVC cement all pieces. I use Oatey Heavy Duty found at Home Depot but it's clear so you might consider their 2 part PVC which is purple colored & you can see where you've applied it.
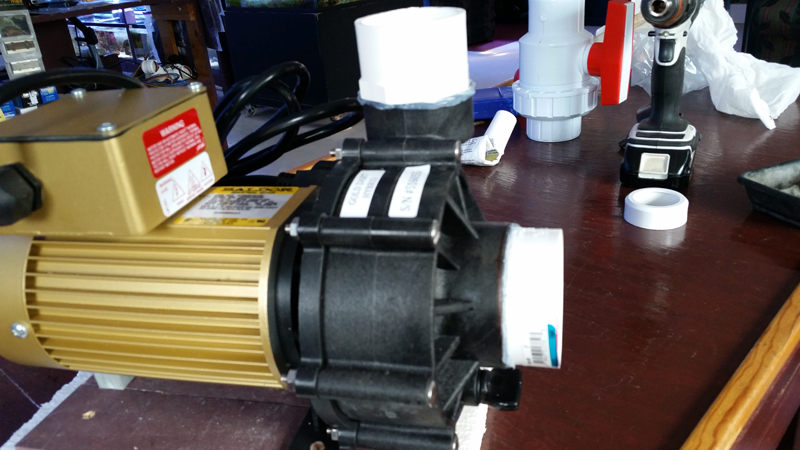
Cut a short piece of straight PVC pipe approx 3 inches & PVC cement it into the bulkhead tail. The other end you will PVC cement into the ball valve. In the picture above you can see how I managed to connect the valve to the bulkhead touching. There is a straight piece of PVC pipe in there! ;c) On the right end of the valve you can see I've used another short straight piece of PVC pipe which is cemented into the pump's intake male threaded adapter (pump instructions next). Note! Be sure your ball valve is installed with the handle near the sump - furthest away from the pump & the union end near the pump! Remember, this valve is used to stop water from coming out of your sump if you ever need to take your pump off the sump for maintenance etc. Also, keep this valve wide open always. We never want to restrict the intake of our pump - ever.
Readying the pump to attach to the sump's ball valve/intake
You will need the following:
1. 2 short pieces (approx 3-3.5" ea) of straight PVC pipe
2. Single Union Ball Valve (sold here - get the same size as your pump's discharge)
3. 2 Male threaded PVC adapters - be sure you have the right size for your pump - especially if the intake & discharge are different sizes!
4. Aquarium silicone
5. Pipe wrench
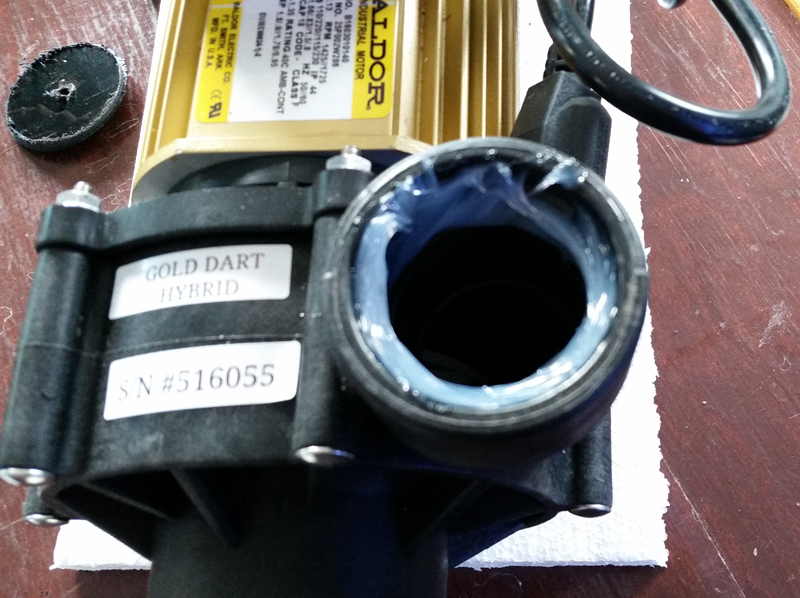
You will install a male threaded adapter in the pump's intake & discharge. Liberally apply aquarium silicone to the threads of the adapter & pump then install the adapter. Use the wrench to tighten until you get firm resistance. Do not over tighten! Read the pump's install instructions.
With the adapters installed on the pump we can now connect the pump to the sump's ball valve using a short piece of straight PVC pipe. PVC cement all pieces.
On the discharge adapter install another short piece of straight PVC pipe & attach your discharge ball valve. Again, remembering to install the valve with the handle away from the pump & the valve union nearest to the pump. Envision closing the valve so water can't come out if you need to remove the pump. This valve will also be used to control the overall speed of your water flow into the tank. Continue with straight PVC pipe to the back of your stand & install a PVC "T" to split the return flow into 2 directions (L & R behind your tank).
See "Pump Parts List" for a plumbing diagram & parts list.

